
Welcome to the Honeywell TH6320R1004 Installation Manual․ This guide provides step-by-step instructions for installing and configuring your thermostat safely and efficiently․ Ensure system compatibility and optimal setup․
1․1 Key Features and Benefits of the Honeywell TH6320R1004 Thermostat
The Honeywell TH6320R1004 thermostat offers a user-friendly interface‚ wireless connectivity‚ and programmable scheduling for enhanced comfort․ It is compatible with various HVAC systems‚ including dual-fuel and heat pump configurations․ The thermostat features a backlit display‚ easy battery installation‚ and optional sensors for precise temperature control․ Its energy-efficient design helps reduce utility bills‚ while its reliable performance ensures consistent heating and cooling․ With its durable construction and advanced features‚ this thermostat provides long-term functionality and peace of mind for homeowners․
1․2 System Requirements and Compatibility
The Honeywell TH6320R1004 thermostat is designed to work with a wide range of HVAC systems‚ including single-stage heating and cooling systems․ It is compatible with dual-fuel configurations and heat pumps․ The thermostat operates on 24V AC and requires a C-wire for power․ It supports optional sensors‚ such as the return air sensor‚ to enhance temperature accuracy․ Compatibility extends to systems with programmable controls‚ ensuring seamless integration with existing setups․ Proper system compatibility is essential for optimal performance and energy efficiency․ Always verify system specifications before installation to ensure compatibility․
1․3 Safety Precautions Before Installation
Before installing the Honeywell TH6320R1004‚ ensure the HVAC system is powered off at the circuit breaker․ Verify the system voltage matches the thermostat’s requirements‚ typically 24V AC․ Avoid touching electrical components to prevent shock․ Use appropriate tools and follow all safety guidelines․ If unsure‚ consult a licensed professional․ Proper preparation ensures a safe and successful installation․ Always refer to the manual for specific safety instructions tailored to your system․ This step is crucial to avoid potential hazards and ensure compliance with safety standards․
Pre-Installation Steps
Before starting‚ unpack and inventory all components to ensure everything is included․ Understand the thermostat’s display and controls‚ and prepare your HVAC system for installation․
2․1 Unpacking and Inventory of Components
Carefully unpack the Honeywell TH6320R1004 thermostat and verify all components are included․ The package should contain the thermostat unit‚ mounting hardware‚ batteries‚ and a quick reference guide․ Ensure no items are missing or damaged․ The thermostat and its accessories are essential for proper installation․ Check for the battery compartment‚ wiring terminals‚ and optional sensors if applicable․ Verify the quick reference guide is included for easy setup instructions․ If any items are missing‚ contact Honeywell support immediately to avoid installation delays․ Proper inventory ensures a smooth setup process․
2․2 Understanding the Thermostat’s Display and Controls
The Honeywell TH6320R1004 features an intuitive display and user-friendly controls․ The screen shows current temperature‚ setpoint‚ and system status․ Navigate using the arrow keys and confirm settings with the ‘Select’ button․ The ‘System’ button switches between heating and cooling modes‚ while ‘Hold’ pauses the schedule․ Understand each icon and button to ensure accurate operation․ Familiarize yourself with the display layout and control functions before proceeding with installation․ Proper understanding enhances user experience and ensures optimal thermostat performance․ Refer to the quick reference guide for detailed control descriptions․
2․3 Preparing the HVAC System for Thermostat Installation
Before installing the Honeywell TH6320R1004‚ ensure your HVAC system is properly prepared․ Turn off power to the system at the circuit breaker․ Verify system compatibility with the thermostat‚ ensuring correct wiring and voltage requirements․ Label existing wires for easy identification during installation․ If your system requires an Equipment Interface Module (EIM)‚ install it first․ For systems with optional sensors‚ prepare mounting locations and ensure proper placement․ Finally‚ test the system to ensure it operates correctly before proceeding with the thermostat installation․ Proper preparation ensures a smooth and safe installation process․
Installation Process
The installation process involves mounting the thermostat‚ connecting wires to the HVAC system‚ and integrating optional sensors․ Ensure power is off before starting․ Follow the step-by-step guide carefully to avoid errors and ensure safe installation․ Proper wiring and sensor placement are crucial for optimal performance․ Refer to the manual for detailed instructions and diagrams․ Always prioritize safety and system compatibility during installation․
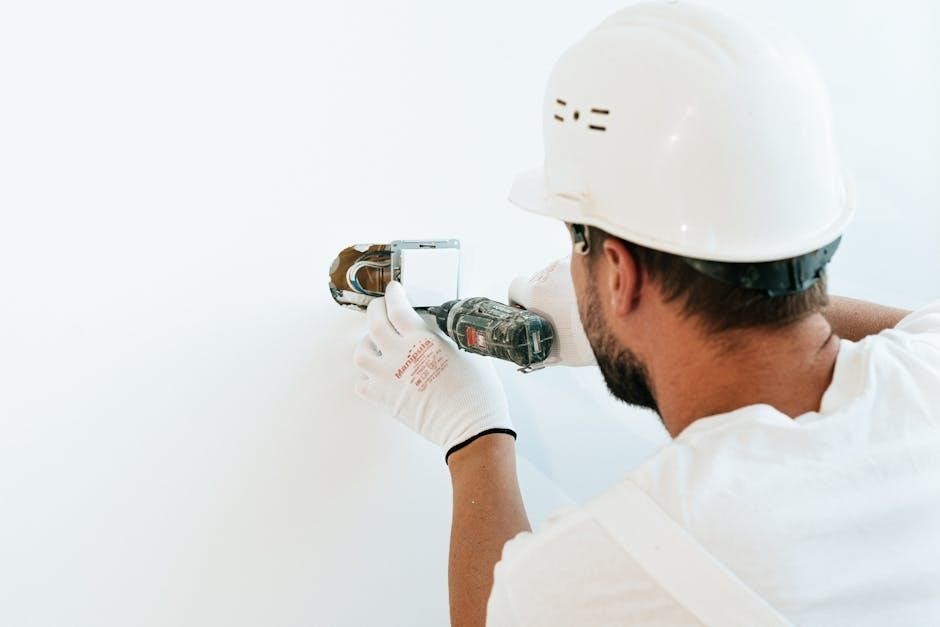
3․1 Mounting the Thermostat on the Wall
Mount the Honeywell TH6320R1004 thermostat on a wall in a location with stable temperature and humidity‚ avoiding direct sunlight or drafts․ Remove the old thermostat and disconnect the wires․ Use the provided mounting hardware to secure the base plate to the wall․ Ensure the plate is level and aligned properly․ Install the thermostat onto the base plate‚ connecting the wires according to the manual․ Tighten the screws to secure it firmly․ Refer to the manual for specific mounting instructions and diagrams to ensure proper installation․
3․2 Connecting the Thermostat to the HVAC System
To connect the Honeywell TH6320R1004 thermostat to your HVAC system‚ ensure the power is turned off at the circuit breaker․ Remove the old thermostat and label the wires according to their terminal designations (R‚ W‚ Y‚ G‚ C‚ etc․)․ Install the new thermostat base plate‚ securing it to the wall; Connect the wires to the corresponding terminals on the thermostat‚ matching the labels you created․ If using optional sensors‚ such as the return air sensor‚ install and connect them as per the manual․ Once all connections are secure‚ restore power and test the system to ensure proper operation․
3;3 Installing Optional Sensors (Return Air Sensor)
For enhanced functionality‚ install the optional return air sensor to monitor indoor temperatures accurately․ Ensure the sensor is placed at least 12 inches upstream from any ventilators‚ humidifiers‚ or dehumidifiers in the return air duct․ Drill a 1/4-inch hole (6․4mm) and secure the sensor firmly․ This sensor ensures safe indoor temperatures during thermostat power loss․ After installation‚ insert two fresh AA lithium batteries into the sensor and reattach the cover․ Proper installation guarantees reliable performance and system integration․
Configuration and Setup
After installation‚ configure your Honeywell TH6320R1004 thermostat by linking it to your wireless network for remote control․ Program the thermostat for optimal performance and set the time and day for accurate scheduling․
4․1 Linking the Thermostat to the Wireless Network
Linking your Honeywell TH6320R1004 thermostat to a wireless network enables remote operation․ Open the thermostat menu‚ select Wi-Fi setup‚ and choose your network․ Enter your password using the touchscreen or remote control․ Once connected‚ a confirmation message will appear․ Ensure the thermostat has a stable internet connection for seamless functionality․ Follow the on-screen instructions to complete the linking process successfully․ This step is essential for accessing advanced features and ensuring optimal performance․
4․2 Programming the Thermostat for Optimal Performance
Programming your Honeywell TH6320R1004 thermostat ensures energy efficiency and comfort․ Set a 5-1-1 or 5-2 day schedule to match your lifestyle․ Use the touchscreen to adjust heating and cooling preferences‚ and enable features like adaptive recovery‚ which learns your system’s needs․ Set temperature ranges and fan controls for optimal performance․ Regularly review and update your settings to maintain efficiency․ This step ensures your thermostat operates smoothly‚ providing consistent comfort while minimizing energy usage․ Proper programming is key to maximizing the thermostat’s advanced features and functionality․
4․3 Setting Up the Time and Day on the Thermostat
To ensure accurate operation‚ set the time and day on your Honeywell TH6320R1004 thermostat․ Use the touchscreen to navigate to the menu‚ select the current day‚ and set the time․ Enable Daylight Saving Time (DST) if applicable․ Proper time setup is essential for scheduling and maintaining consistent temperature control․ After setting‚ install fresh AA batteries to prevent time loss during power outages․ This step ensures your thermostat operates accurately and efficiently‚ aligning with your daily schedule and preferences․
Post-Installation Checks
After installation‚ verify the thermostat’s basic functionality‚ wireless connectivity‚ and sensor integration․ Ensure the HVAC system operates correctly and programming is accurate․ Check for any error messages․
5․1 Testing the Thermostat’s Basic Functionality
After installation‚ test the thermostat by checking its display‚ buttons‚ and HVAC system response․ Ensure the thermostat powers on‚ the screen lights up‚ and all buttons function correctly․ Verify that the system turns on and off as commanded․ Check heating and cooling modes to confirm proper operation․ Review the display for any error messages or unusual behavior․ Ensure the thermostat accurately reflects the system status and responds to temperature adjustments․ If issues arise‚ refer to the troubleshooting section or contact support․
5․2 Verifying Wireless Connectivity and Sensor Integration
After installation‚ ensure the thermostat connects to your wireless network by checking for a stable link; Verify that the thermostat communicates with optional sensors‚ such as the return air sensor‚ if installed․ Check the LED indicators on the thermostat or sensors for proper operation․ Test the system by adjusting settings wirelessly to confirm responsiveness․ Review the display for any connectivity or sensor-related error messages․ If issues occur‚ consult the manual or contact support for troubleshooting assistance․ Proper integration ensures optimal performance․
5․3 Ensuring Proper System Operation After Installation
After installation‚ power on the HVAC system and verify that the thermostat operates correctly․ Check the display for proper temperature readings and mode indicators․ Test heating and cooling functions to ensure they respond to thermostat commands․ Confirm that the return air sensor‚ if installed‚ integrates seamlessly and maintains safe indoor conditions․ Review all settings and schedules for accuracy․ If any issues arise‚ refer to the manual or contact support for assistance․ Proper operation ensures energy efficiency and consistent comfort in your home․